
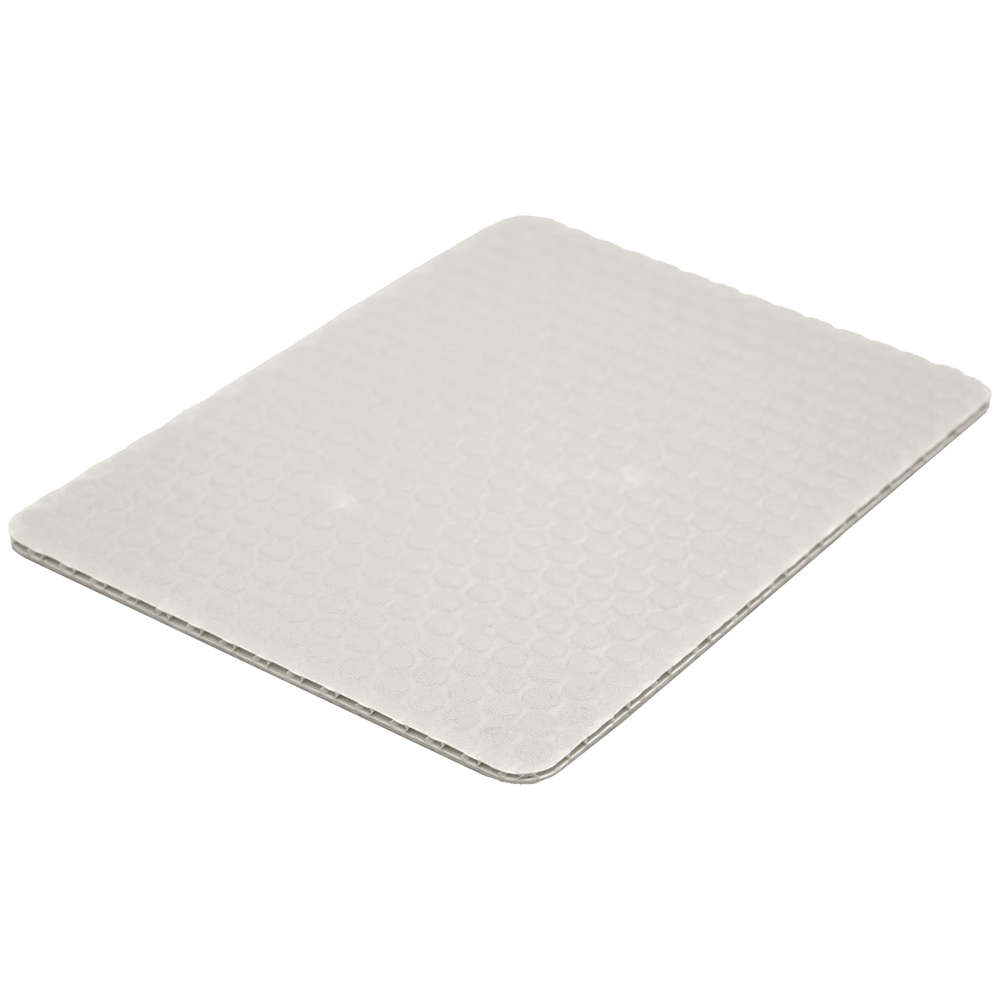
There is a particular sound a router makes when it is tearing rather than cutting honeycomb polypropylene — an irregular chatter instead of a clean hiss. If you have heard it, you already know that the fix is rarely the spindle speed. It is almost always hold-down and tool geometry.
Converting PP honeycomb panel is not difficult, but it is less forgiving than cutting solid sheet, because the material you are removing alternates between solid skin and open cell roughly every few millimetres. Every one of those transitions is an opportunity for the tool to grab.
Why tear-out happens
When the cutting edge exits a cell wall into open space it has nothing to push against, so the wall deflects instead of shearing. The skin above it — unsupported for that instant — lifts or frays. On a down-cut tool the same thing happens in reverse at the top surface.
The panel’s own stiffness works against you here. A thin, low-density core deflects more, so the exit burr is worse. That is why the same program that cuts a 15 mm heavy-core panel beautifully will shred a 8 mm light-core sheet.
Tool choice
Compression spirals are the usual recommendation for laminated sheet and they work here for the same reason they work on plywood: the up-cut section clears chips while the down-cut section presses the top skin down. For honeycomb specifically:
- Compression spiral, single flute for most profiling work. Single flute gives better chip clearance, which matters because PP swarf melts and re-welds if it dwells.
- Two-flute up-cut for through-cuts on thin panels where the top surface is protected or will be trimmed later.
- Straight flute with a high rake if you are cutting on a machine with poor dust extraction and chip evacuation is limiting you.
Keep the tool sharp beyond the point that feels reasonable. Polypropylene is soft, so a dull tool does not fail dramatically — it just starts melting instead of cutting, and the melted smear on the cut edge is what stops a subsequent weld or adhesive bond from taking.
Feed and speed, in the order you should adjust them
People reach for spindle speed first. Adjust in this order instead:
- Chip load per tooth. Too low and you rub and melt; too high and you grab cell walls. Aim for a chip you can see, not dust.
- Feed rate. Follows from chip load once flute count and rpm are fixed.
- Depth per pass. On thick panels, multiple shallow passes with a finishing pass at full depth gives a far cleaner edge than one deep pass.
- Spindle speed last. Within reason it is the least influential variable.
Hold-down is the actual answer
Almost every tear-out problem that survives tool and feed changes is a holding problem. Vacuum hold-down through a honeycomb panel is partly self-defeating, because the panel’s own cells leak. Two things help:
- Use a sacrificial spoil board underneath and a vacuum area that extends well beyond the part, so the leakage path is long.
- Add mechanical clamps near the cut line where the geometry permits. Even two clamps at opposite corners change the result noticeably.
If you are nesting small parts, leave tabs. A part that breaks free at the end of the cut and gets thrown by the spindle is how tools get broken and edges get ruined.
Die cutting and clicker presses
For volume production of simple blanks, steel rule dies on a clicker press are faster and give a sealed, slightly compressed edge that is actually desirable — it closes the cells at the cut line. The trade-offs:
- Rule height must suit the panel thickness; too short and the bottom skin does not separate, too long and you crush the core excessively.
- Blunt rule produces a ragged edge that looks like tear-out but is really just compression failure.
- Sheet-fed clicker work limits you to smaller parts unless you have a travelling head.
Checking the result
Run your thumbnail along the cut edge. It should feel continuous and slightly rounded, not stepped or fuzzy. Look at the corner where the cut exits the sheet — that is where deflection is highest and where problems show up first. And if the parts are going to be welded, wipe the edge with solvent before welding; the release agent and the melted smear both kill a weld, and the failure will be blamed on the welder.
None of this is exotic. It is mostly a matter of holding the panel well, keeping the tool sharp, and treating the cut edge as a functional surface rather than the residue of getting the part out of the sheet.